A little while ago I had a quilt idea pop into my head. It’s a pretty fun and easy quilt to make. So, I thought I’d write up a quick tutorial….

I will post more pictures of it when it is quilted. Life got in the way and it’ll be awhile before I can finish it; but I decided to write the tutorial sooner rather than later.
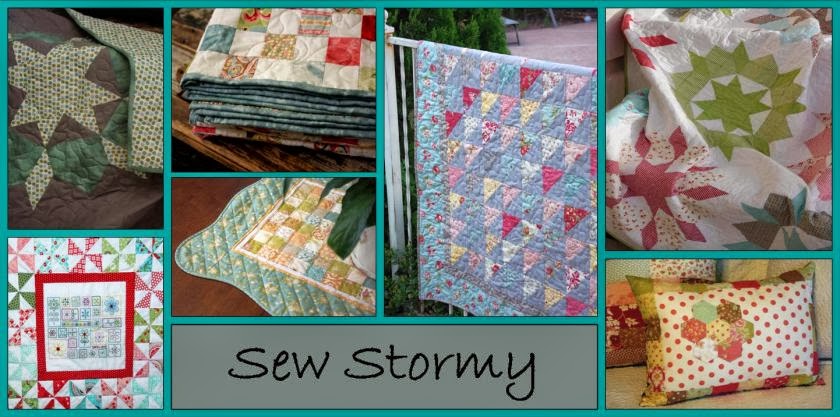
QUILT STATS
Each block measures 20 inches square. The finished quilt is 3 blocks wide by 4 blocks long or 60x80. I have written the fabric requirements and cutting instructions for individual blocks or for the entire quilt. That way, you can easily figure yardage if you want to change the size of your quilt. I hope it’s not confusing!
FABRIC REQUIREMENTS (for individual blocks or 60x80 quilt)
Background fabric – 1/3 yard for each block or 3 1/2 yards total
Fabric 1 (star points) – 1/3 yard each or 4 yards total.
Fabric 2 (center pinwheels and corner triangles) – 1/4 yard each or 3 yards total.
Because I was not planning on doing a tutorial when I made this quilt, I neglected to take pictures. So, I made another block using different fabrics for this tutorial.

Cutting Instructions
Background Fabric – cut (4) or (48) 6 in. squares and (4) or (48) 5.5 x 10.5 in. rectangles
Fabric 1 (star points)– cut (8) 5.5 in. squares
Fabric 2 – (pinwheel and corner triangles) – cut (4) 6 in. squares
Step 1
Draw a diagonal line across the back of all the Fabric 1 and Fabric 2 squares.

Step 2
Layer background fabric squares with Fabric 2 squares RST (right sides together) and sew 1/4 in. away from drawn line. Then, turn and sew 1/4 in. down the other side.

Step 2b
Cut on drawn line to separate into 2 HST (half square triangles).

Step 2c
Press open and trim to 5.5 in. square.

Step 3
Lay out HST into pinwheel pattern.

Step 4
Sew rows together using 1/4 in. seam allowance. Press towards darker fabric.

Step 5
Sew rows together. (Press the seam open to help with the bulkiness in the center of the pinwheel.)

Step 6
Align Fabric 1 square with Background Fabric rectangle RST. Sew along line.

Step 7
Trim off excess fabric by cutting 1/4 in. away from sewn line. Press open.

Step 8
Align second Fabric 1 square along the opposite side of Background Fabric rectangle. Sew along drawn line.

Step 9
Trim excess fabric 1/4 in. away from drawn line.

Step 10
Press open to form Flying Geese block.

Step 11
Make row 1 and 3 by laying out HST’s with Flying Geese block. Sew together and press toward the center block.

Step 12
Make center row by sewing Flying Geese blocks to center pinwheel. Press towards the Flying Geese blocks.

Step 12b
Helpful hint – When sewing Flying Geese blocks onto pinwheel, make sure your stitches pass barely above the crossed stitches that make the point of the cream triangle. That way, you will always get a perfect point.

Step 13
Lay out rows and sew together making sure to pin the corners and also matching the center of the pinwheel to the center of the flying geese block. Sew rows together. Press.

Finished Block
Now make 11 more and sew together row by row and your quilt top is finished!

I think I’ll make this block into a pillow for my daughter’s bed!
Stormy


